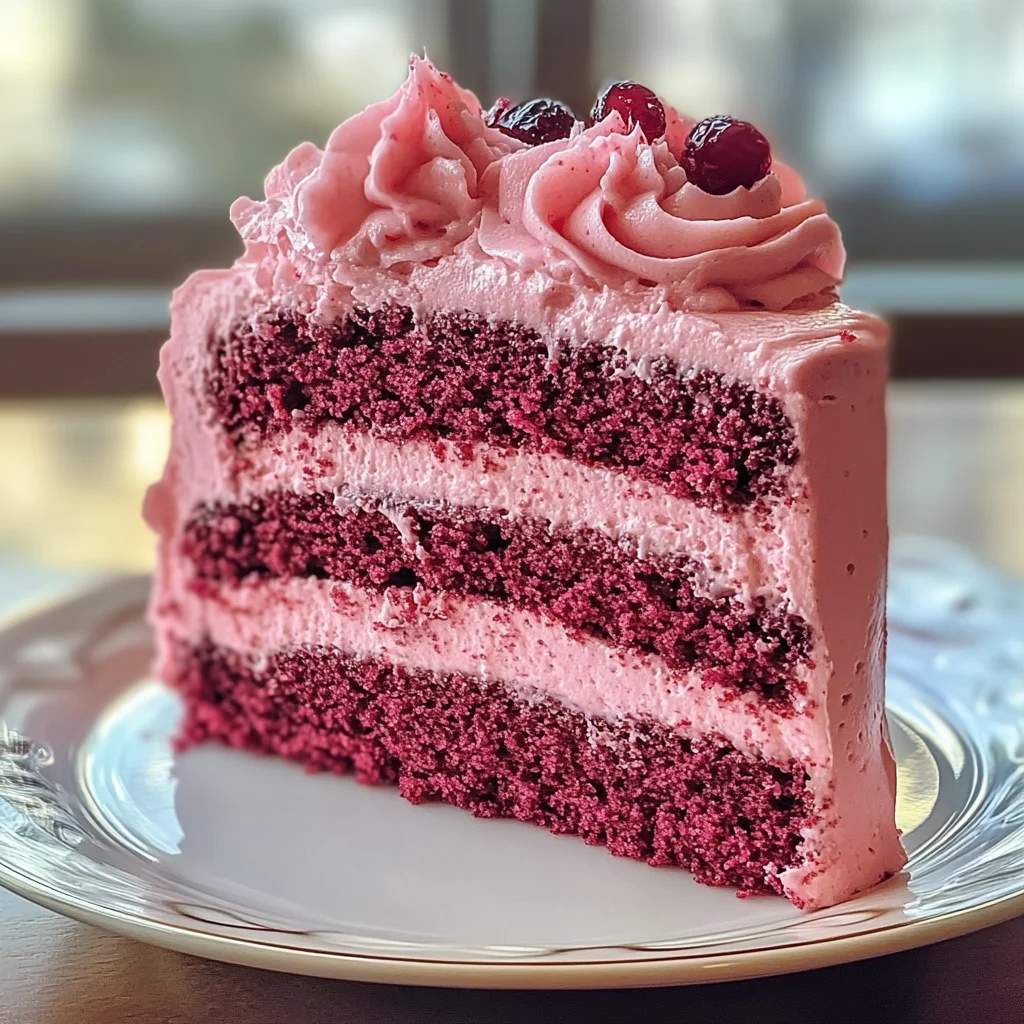
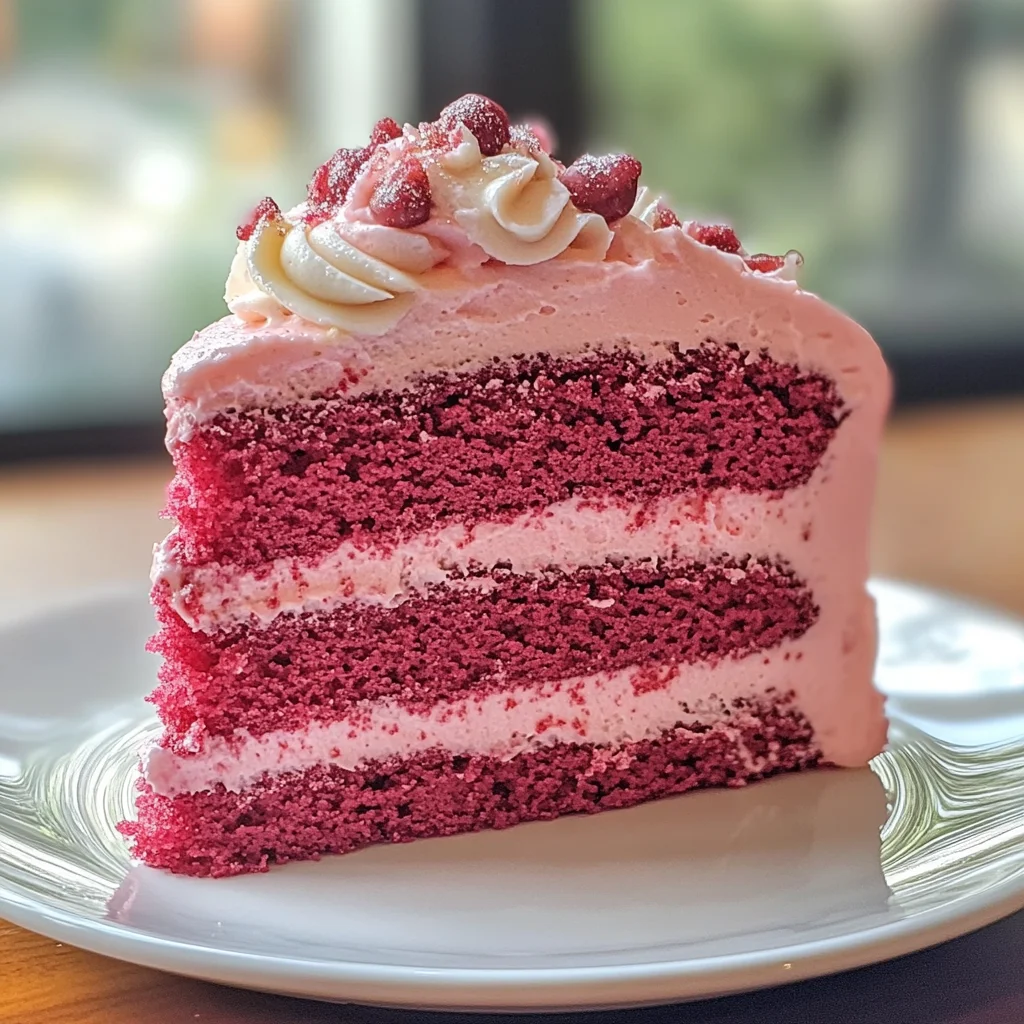
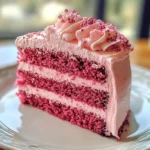
Mother’s Day Pink Velvet Cake
Celebrate the special women in your life with this enchanting Mother’s Day Pink Velvet Cake. If you’re looking for a delightful dessert that’s as visually stunning as it is delicious, you’ve come to the right place! This cake is more than just a treat; it’s an experience filled with joy and love. The soft, fluffy layers infused with cocoa and vanilla are perfect for any occasion—be it Mother’s Day or a cozy family gathering. Baking this cake will create sweet memories that linger long after the last slice has been enjoyed.
Why You’ll Love This Recipe
- Easy to Make: This recipe involves simple steps that make baking fun and approachable, even for beginners.
- Family-Friendly Appeal: With its charming pink hue and rich flavor, this cake is sure to be loved by kids and adults alike.
- Perfect for Any Occasion: While it shines on Mother’s Day, it’s also great for birthdays, tea parties, or just because!
- Make-Ahead Convenience: Bake the layers in advance and frost them when you’re ready to serve; it’s stress-free entertaining!
Ingredients You’ll Need
Gathering your ingredients is part of the fun! For this Mother’s Day Pink Velvet Cake, you’ll need some simple and wholesome items that you might already have in your kitchen. Here’s what you’ll need:
- 2 ½ cups cake flour
- 1 ¾ cups granulated sugar
- ½ cup unsweetened cocoa powder
- 1 tbsp baking powder
- ½ tsp salt
- ¾ cup unsalted butter, softened
- 4 large eggs (room temperature)
- 1 cup buttermilk
- 2 tsp pure vanilla extract
- Red food coloring (to achieve desired pink hue)
- Cream cheese frosting (for topping)
Variations
This recipe is flexible and allows for your creativity to shine! Here are some fun variations to consider:
- Swap the buttermilk: Use yogurt instead of buttermilk for a different tangy flavor while keeping the texture moist.
- Add almond extract: For a delightful twist, add a teaspoon of almond extract along with the vanilla for extra depth.
- Mix in fresh fruit: Fold in some raspberries or strawberries into the batter before baking for bursts of freshness.
- Decorate differently: Top with fresh fruit or edible flowers instead of cream cheese frosting for a lightened-up version.
How to Make Mother’s Day Pink Velvet Cake
Step 1: Preheat Your Oven
Preheat your oven to 350°F (175°C). Greasing and flouring two 9-inch round cake pans ensures that your cakes will release easily once baked. This step is crucial so you can focus on enjoying each layer when it’s time to serve!
Step 2: Whisk Dry Ingredients
In a bowl, whisk together the cake flour, cocoa powder, baking powder, and salt. Mixing these dry ingredients thoroughly ensures that they are evenly distributed throughout your batter. A well-blended dry mix leads to a consistent texture in every bite!
Step 3: Cream Butter and Sugar
In a separate bowl, cream together the softened butter and granulated sugar until light and fluffy—about three minutes. This process incorporates air into the mixture, giving your cake that lovely lift when it bakes. It’s also where all those delicious flavors start coming together.
Step 4: Incorporate Eggs
Beat in the eggs one at a time, making sure each one is well incorporated before adding the next. This step helps create an even consistency in your batter. Plus, watching it transform from mixture to batter is like magic!
Step 5: Add Wet Ingredients
Next, add in the buttermilk, vanilla extract, and red food coloring. Mix until combined! The red food coloring turns this delightful mixture into a beautiful pink hue—perfect for Mother’s Day celebrations!
Step 6: Combine Dry Ingredients
Gradually fold in the dry ingredients until smooth. Take care not to overmix at this stage; gentle folding keeps air bubbles intact which results in soft layers.
Step 7: Bake Your Cakes
Divide the batter between prepared pans and bake for 25-30 minutes or until a toothpick comes out clean when inserted into the center. Enjoy that wonderful aroma wafting through your kitchen while they bake!
Step 8: Cool Down
Allow cakes to cool for about ten minutes before transferring them to wire racks. It’s important not to frost them while they’re still warm; cooling completely allows for better frosting application.
Step 9: Frost Away!
Once cooled, generously frost with cream cheese frosting. Take your time here—this is where you can truly express yourself! Whether you want simple swirls or elaborate decorations, let your creativity flow.
Now that you’ve made this beautiful Mother’s Day Pink Velvet Cake, gather around with loved ones and enjoy every sweet moment together!
Pro Tips for Making Mother’s Day Pink Velvet Cake
Baking can be a joyful experience, and a few pro tips will ensure your Mother’s Day Pink Velvet Cake turns out perfectly!
-
Use room temperature ingredients: Bringing your eggs and butter to room temperature helps create a smooth batter, leading to a lighter and fluffier cake.
-
Don’t overmix the batter: Once you combine the wet and dry ingredients, mix just until incorporated. Overmixing can result in a dense texture, which we definitely want to avoid.
-
Check for doneness early: Oven temperatures can vary, so start checking your cakes around the 25-minute mark. A toothpick should come out clean or with a few crumbs for perfectly baked layers.
-
Level your cakes: If your cakes have domed tops, use a serrated knife to trim them flat before frosting. This ensures a beautiful presentation and makes stacking easier.
-
Chill the frosting: If your cream cheese frosting is too soft, chill it in the fridge for about 15 minutes before spreading it on the cake. This will help it hold its shape better when decorating.
How to Serve Mother’s Day Pink Velvet Cake
Presenting your Mother’s Day Pink Velvet Cake beautifully enhances the experience of this delightful treat. Here are some ideas to make it even more special!
Garnishes
- Fresh berries: Add a handful of raspberries or strawberries on top for a vibrant splash of color and a refreshing taste that complements the sweetness of the cake.
- Edible flowers: Consider using edible flowers like pansies or violets to adorn your cake. They add an elegant touch perfect for celebrating special occasions.
- Mint leaves: A few sprigs of fresh mint can provide a lovely contrast in color and flavor, making your cake look even more inviting.
Side Dishes
- Vanilla ice cream: Serve slices of cake with a scoop of vanilla ice cream for a classic dessert pairing that adds creamy richness against the cake’s texture.
- Fruit salad: A light fruit salad made from seasonal fruits provides a refreshing balance to the sweet cake. Citrus fruits like oranges or grapefruits can be particularly complementary.
- Whipped coconut cream: For those who prefer dairy-free options, whipped coconut cream adds lightness and pairs beautifully with the flavors of red velvet.
- Coffee or tea: Offering a warm beverage like coffee or herbal tea alongside your cake enhances the experience and provides warmth on special occasions.
With these serving suggestions and tips, you’re ready to impress the important women in your life! Enjoy baking this delightful Mother’s Day Pink Velvet Cake filled with love and joy!
Make Ahead and Storage
This Mother’s Day Pink Velvet Cake is a fantastic option for meal prep, allowing you to plan ahead for celebrations or gatherings. You can prepare the cake in advance and store it properly to keep its delightful flavors intact.
Storing Leftovers
- Allow the cake to cool completely before storing.
- Place the frosted or unfrosted cake in an airtight container.
- Store it at room temperature for up to 3 days, or refrigerate for up to a week.
Freezing
- Wrap individual slices or the whole cake tightly in plastic wrap.
- Then wrap it again with aluminum foil to prevent freezer burn.
- Freeze for up to 3 months. Thaw overnight in the refrigerator when ready to serve.
Reheating
- If you prefer your cake slightly warm, preheat your oven to 350°F (175°C).
- Place a slice of cake on an oven-safe dish and heat for about 10 minutes.
- Alternatively, use the microwave for about 15-20 seconds until warm.
FAQs
Here are some common questions related to the Mother’s Day Pink Velvet Cake recipe:
Can I make this Mother’s Day Pink Velvet Cake without eggs?
Yes! You can substitute eggs with unsweetened applesauce (1/4 cup per egg) or a commercial egg replacer. This will keep the cake moist and fluffy.
How can I achieve a brighter pink color for my Mother’s Day Pink Velvet Cake?
To achieve a more vibrant pink hue, simply add more red food coloring gradually until you reach your desired shade. Be careful not to overdo it, as too much can alter the flavor.
What kind of frosting works best with Mother’s Day Pink Velvet Cake?
Cream cheese frosting is a popular choice as it beautifully complements the flavors of the cake. However, you can also use whipped cream or buttercream frosting if preferred.
Final Thoughts
Baking this Mother’s Day Pink Velvet Cake is not just about creating a delicious dessert; it’s about making memories filled with warmth and love. I hope you enjoy making this enchanting treat as much as I do! It’s perfect for celebrating special moments and sharing joy with those you cherish. Happy baking!
Mother’s Day Pink Velvet Cake
Indulge in the magic of this Mother’s Day Pink Velvet Cake, a stunning dessert that beautifully blends flavor and aesthetics. With its soft, fluffy layers infused with cocoa and vanilla, this cake is perfect for celebrating special moments or brightening up any gathering. Its delightful pink hue adds a festive charm, making it an ideal treat for Mother’s Day or a cozy family get-together. Each bite is an experience filled with joy and love, creating sweet memories that linger long after the celebration ends.
- Prep Time: 20 minutes
- Cook Time: 30 minutes
- Total Time: 50 minutes
- Yield: Serves about 12 slices 1x
- Category: Dessert
- Method: Baking
- Cuisine: American
Ingredients
- 2 ½ cups cake flour
- 1 ¾ cups granulated sugar
- ½ cup unsweetened cocoa powder
- 1 tbsp baking powder
- ½ tsp salt
- ¾ cup unsalted butter, softened
- 4 large eggs (room temperature)
- 1 cup buttermilk
- 2 tsp pure vanilla extract
- Red food coloring
- Cream cheese frosting
Instructions
- Preheat your oven to 350°F (175°C) and grease two 9-inch round cake pans.
- Whisk together the cake flour, cocoa powder, baking powder, and salt in a bowl.
- In another bowl, cream the softened butter and sugar until light and fluffy.
- Beat in eggs one at a time until well combined.
- Add buttermilk, vanilla extract, and red food coloring; mix well.
- Gradually fold in the dry ingredients until smooth.
- Divide the batter between prepared pans and bake for 25-30 minutes.
- Allow cakes to cool before frosting generously with cream cheese frosting.
Nutrition
- Serving Size: 1 slice (90g)
- Calories: 360
- Sugar: 40g
- Sodium: 200mg
- Fat: 16g
- Saturated Fat: 10g
- Unsaturated Fat: 6g
- Trans Fat: 0g
- Carbohydrates: 53g
- Fiber: 1g
- Protein: 4g
- Cholesterol: 85mg