Butterfinger Pie
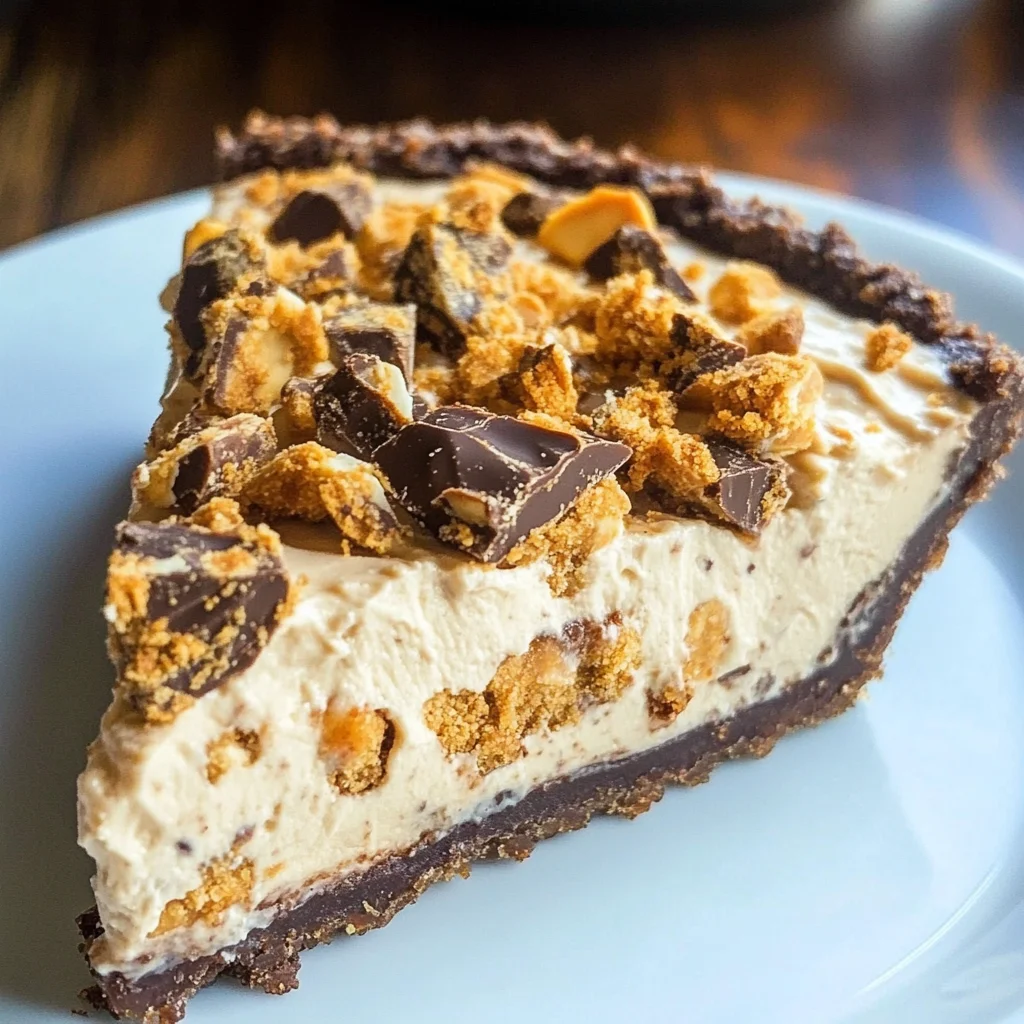
If you’re looking for a dessert that’s as easy to make as it is delightful to eat, then you’ve stumbled upon the perfect recipe: Butterfinger Pie! This cool and creamy treat is a classic favorite in my house, bringing smiles to faces at every gathering. It’s an effortless no-bake pie that can brighten up busy weeknights or make any family gathering feel extra special. With its rich peanut butter flavor and those irresistible crunchy bits of Butterfinger, it’s hard not to fall in love with each bite!
What makes this Butterfinger Pie even more special is how quickly it comes together. In just 15 minutes, you can whip up a dessert that everyone will be talking about. Trust me; once you try this recipe, it will become a staple in your dessert rotation!
Why You’ll Love This Recipe
- Super Easy to Prepare: No baking required! Just mix and chill for a delicious dessert.
- Family-Friendly: Kids and adults alike adore the flavors of peanut butter and chocolate.
- Make-Ahead Convenience: Prepare it a day in advance for hassle-free entertaining.
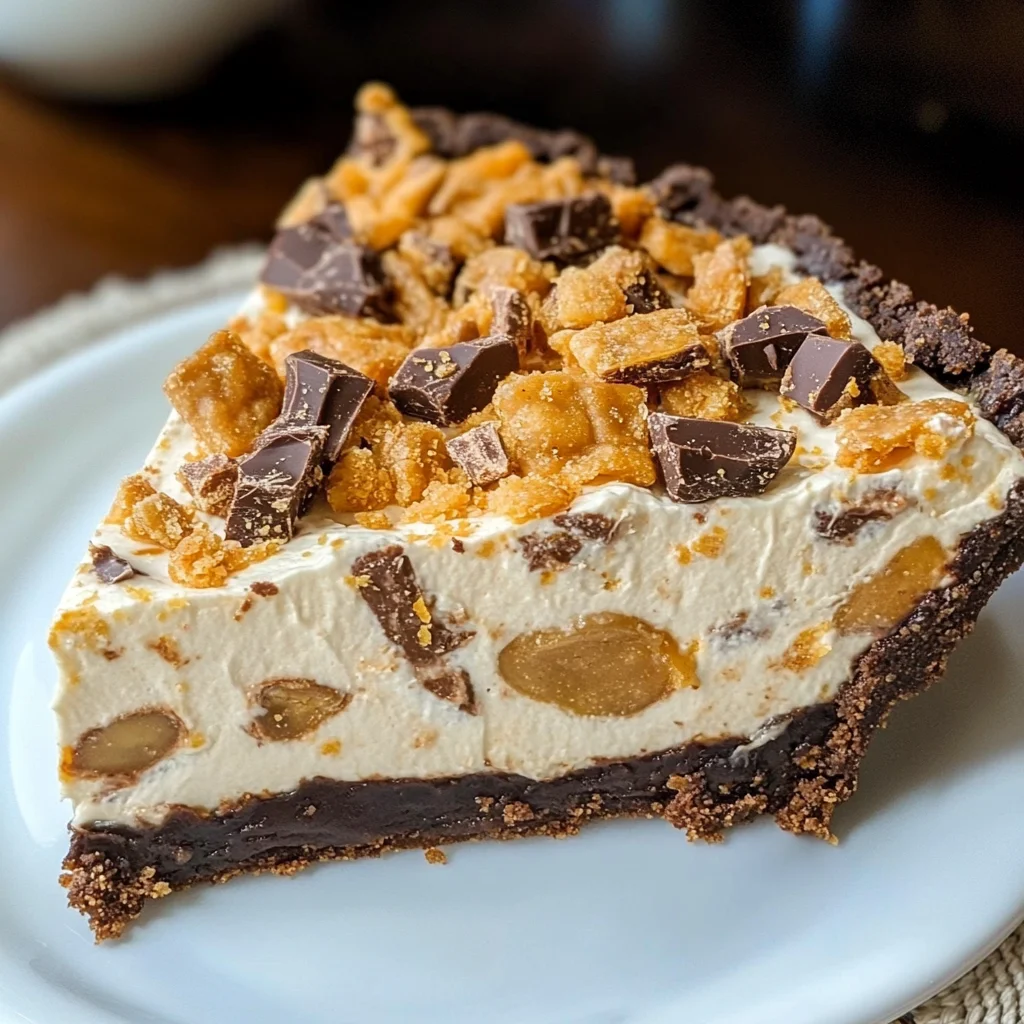
- Deliciously Decadent: The combination of creamy filling and crunchy candy makes each bite heavenly.
Ingredients You’ll Need
Gathering the ingredients for this Butterfinger Pie is a breeze! You’ll find that these simple, wholesome ingredients come together beautifully to create a decadent dessert.
For the Filling
- 1 (8-ounce) package cream cheese (room temperature)
- 1/2 cup creamy peanut butter
- 2 teaspoons vanilla extract
- 1 1/2 cups powdered sugar
- 1 (12.5-ounce) bag fun-sized Butterfinger bars (crushed, reserve 2 bars to sprinkle on top)
- 1 (8-ounce) container Cool Whip (thawed)
For the Crust
- 1 store-bought Oreo or chocolate graham cracker crust
Variations
One of the best things about Butterfinger Pie is how flexible it can be! Feel free to get creative with these fun variations:
- Add Some Crunch: Mix in chopped nuts like peanuts or almonds for an extra layer of texture.
- Drizzle with Chocolate Sauce: A drizzle of chocolate syrup on top before serving adds a rich touch.
- Switch Up the Candy: Try using crushed Reese’s Peanut Butter Cups or other candy bars for a new twist.
- Make It Gluten-Free: Use a gluten-free crust to enjoy this dessert without worry!
How to Make Butterfinger Pie
Step 1: Beat the Cream Cheese and Peanut Butter
Start by placing your room temperature cream cheese and creamy peanut butter into a large mixing bowl. Add in the vanilla extract and use an electric mixer to beat everything together until it’s nice and smooth. This step is crucial as it creates that creamy base that will hold all those delicious flavors.
Step 2: Add Sugar
Next, gradually mix in the powdered sugar until everything is combined smoothly. This will sweeten your filling perfectly without any lumps.
Step 3: Fold in Crushed Butterfingers
Now comes the fun part! Gently fold in the crushed Butterfinger bars, ensuring they are evenly distributed throughout the mixture. This adds bursts of chocolatey goodness that make each slice so enjoyable.
Step 4: Incorporate Cool Whip
Carefully fold in the thawed Cool Whip until it’s fully incorporated. This step lightens up your filling while keeping that delectable creaminess that we all love.
Step 5: Assemble Your Pie
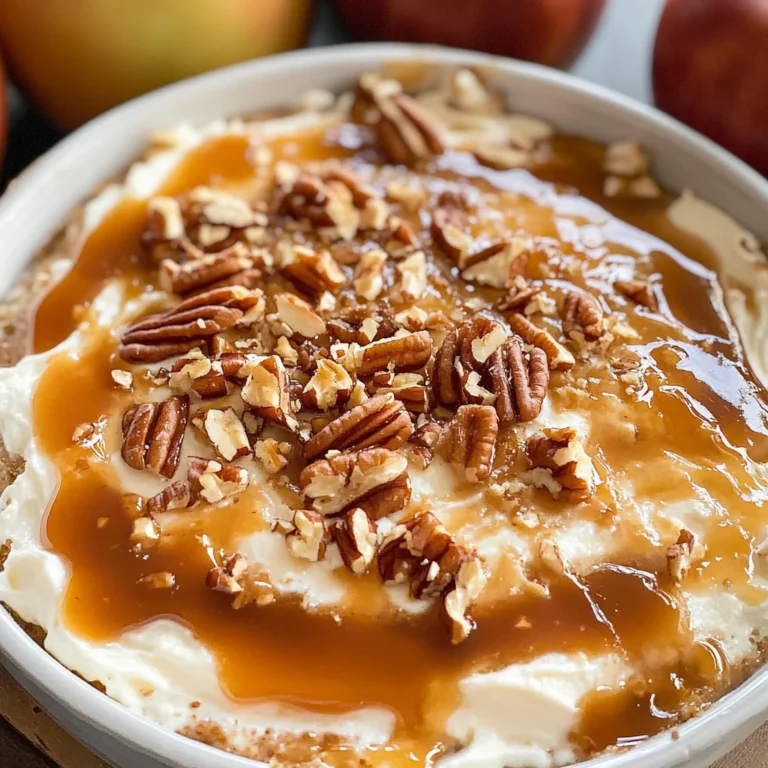
Spread your delicious filling into the prepared crust, ensuring an even layer. Don’t forget to sprinkle those reserved crushed Butterfinger bars on top for an eye-catching finish!
Step 6: Chill Before Serving
Finally, refrigerate your Butterfinger Pie for at least four hours before serving. Chilling allows all those wonderful flavors to meld together and makes slicing easier when it’s time to dig in!
Enjoy every spoonful of this delightful no-bake dessert; it’s sure to become one of your favorites too!
Pro Tips for Making Butterfinger Pie
Creating the perfect Butterfinger Pie is all about the little details! Here are some tips to ensure your dessert turns out delicious and impressive.
-
Use room temperature cream cheese: This will help you achieve a smooth and creamy filling without any lumps, ensuring a delightful texture in every bite.
-
Don’t skimp on chilling time: Allowing the pie to refrigerate for at least 4 hours (or overnight, if you can wait!) helps the flavors meld together beautifully and gives it the right firmness.
-
Reserve extra Butterfinger pieces: Sprinkling crushed Butterfinger bars on top not only adds an aesthetic appeal, but also gives that extra crunch with every slice—who doesn’t love more chocolatey goodness?
-
Try different crusts: While an Oreo or chocolate graham cracker crust is classic, experimenting with a cookie crust made from Nilla wafers or even a gluten-free option can add a unique twist to your pie.
-
Add a drizzle of chocolate sauce: For those who really love chocolate, drizzling some melted chocolate on top before serving adds an indulgent touch that takes this dessert to the next level.
How to Serve Butterfinger Pie
Presenting your Butterfinger Pie is just as enjoyable as making it! Here are some fun ideas to make your dessert shine.
Garnishes
- Whipped Cream: A dollop of whipped cream on each slice adds a light and airy contrast to the rich filling.
- Chopped Peanuts: Sprinkle some chopped peanuts over the top for an extra crunch that complements the pie’s flavors.
- Chocolate Shavings: Use a vegetable peeler to create chocolate shavings from a bar of dark chocolate; this not only looks stunning but enhances the dessert’s chocolaty allure.
Side Dishes
- Fresh Fruit Salad: A vibrant mix of seasonal fruits balances the richness of the pie and adds refreshing flavors.
- Vanilla Ice Cream: The creamy texture of vanilla ice cream pairs perfectly with the buttery flavor of your pie, creating a comforting combination.
- Coffee or Tea: Serving your pie alongside a cup of coffee or tea provides a warm beverage contrast that enhances the overall experience.
- Chocolate-Covered Strawberries: These sweet treats complement the Butterfinger flavor profile while adding an elegant touch to your dessert table.
Enjoy creating and sharing this delightful Butterfinger Pie with family and friends—it’s sure to become a favorite in no time!
Make Ahead and Storage
This Butterfinger Pie is perfect for meal prep! You can easily make it in advance, allowing the flavors to meld beautifully while you focus on other tasks. Here’s how to store your delightful dessert:
Storing Leftovers
- Store any leftover pie in an airtight container in the refrigerator.
- It will stay fresh for up to 3-4 days.
- Make sure to cover the pie with plastic wrap or a lid to prevent it from drying out.
Freezing
- If you want to enjoy this pie later, you can freeze it!
- Wrap the pie tightly in plastic wrap, then place it in a freezer-safe container.
- It can be frozen for up to 2 months. Just remember to label it!
Reheating
- This pie is best enjoyed cold, so there’s no need to reheat it.
- Just remove it from the fridge or freezer and let it sit for a few minutes before slicing.
FAQs
Got questions about Butterfinger Pie? You’re not alone! Here are some common queries:
Can I use a different type of crust for Butterfinger Pie?
Absolutely! While an Oreo or chocolate graham cracker crust works beautifully, feel free to experiment with other types like a traditional graham cracker crust or even a cookie crust made from your favorite treats.
How long does Butterfinger Pie last in the fridge?
Your Butterfinger Pie will remain delicious and fresh for about 3-4 days when stored properly in the refrigerator. Just make sure it’s covered!
Can I make Butterfinger Pie ahead of time?
Yes! In fact, making this pie ahead of time allows the flavors to develop fully. It’s best if you can refrigerate it for at least four hours before serving.
Is there a way to lower the calories in Butterfinger Pie?
You can reduce calories by using reduced-fat cream cheese and lower-sugar Cool Whip. Substituting some powdered sugar with a sugar alternative can also help!
Final Thoughts
I hope you find this Butterfinger Pie as delightful and easy as I do! It’s such a special treat that’s sure to bring smiles around your table. Enjoy making this no-bake dessert, and don’t hesitate to share your experience or any variations you try. Happy baking!
Butterfinger Pie
If you’re in search of an easy and delightful dessert, look no further than this Butterfinger Pie! This creamy, no-bake treat combines the rich flavors of peanut butter and chocolate with crunchy bits of Butterfinger candy, making it a crowd-pleaser at any gathering. Ready in just 15 minutes, it’s perfect for busy weeknights or special occasions alike. Simply mix the ingredients, chill, and serve for a dessert that will leave everyone coming back for seconds. With its effortless preparation and delicious taste, this Butterfinger Pie is destined to become a favorite in your dessert rotation.
- Prep Time: 15 minutes
- Cook Time: None
- Total Time: 0 hours
- Yield: Approximately 8 servings 1x
- Category: Dessert
- Method: No-bake
- Cuisine: American
Ingredients
- 1 (8-ounce) package cream cheese (room temperature)
- 1/2 cup creamy peanut butter
- 2 teaspoons vanilla extract
- 1 1/2 cups powdered sugar
- 1 (12.5-ounce) bag fun-sized Butterfinger bars (crushed, reserve 2 bars for topping)
- 1 (8-ounce) container Cool Whip (thawed)
- 1 store-bought chocolate graham cracker crust
Instructions
- In a large mixing bowl, beat room temperature cream cheese and creamy peanut butter until smooth. Add vanilla extract.
- Gradually mix in powdered sugar until well combined.
- Fold in crushed Butterfinger bars evenly throughout the mixture.
- Gently incorporate thawed Cool Whip until fully blended.
- Spread the filling into the prepared crust and sprinkle with reserved crushed Butterfinger.
- Refrigerate for at least four hours before serving to allow flavors to meld.
Nutrition
- Serving Size: 1 slice (approximately 128g)
- Calories: 350
- Sugar: 24g
- Sodium: 310mg
- Fat: 23g
- Saturated Fat: 11g
- Unsaturated Fat: 10g
- Trans Fat: 0g
- Carbohydrates: 36g
- Fiber: 1g
- Protein: 4g
- Cholesterol: 30mg