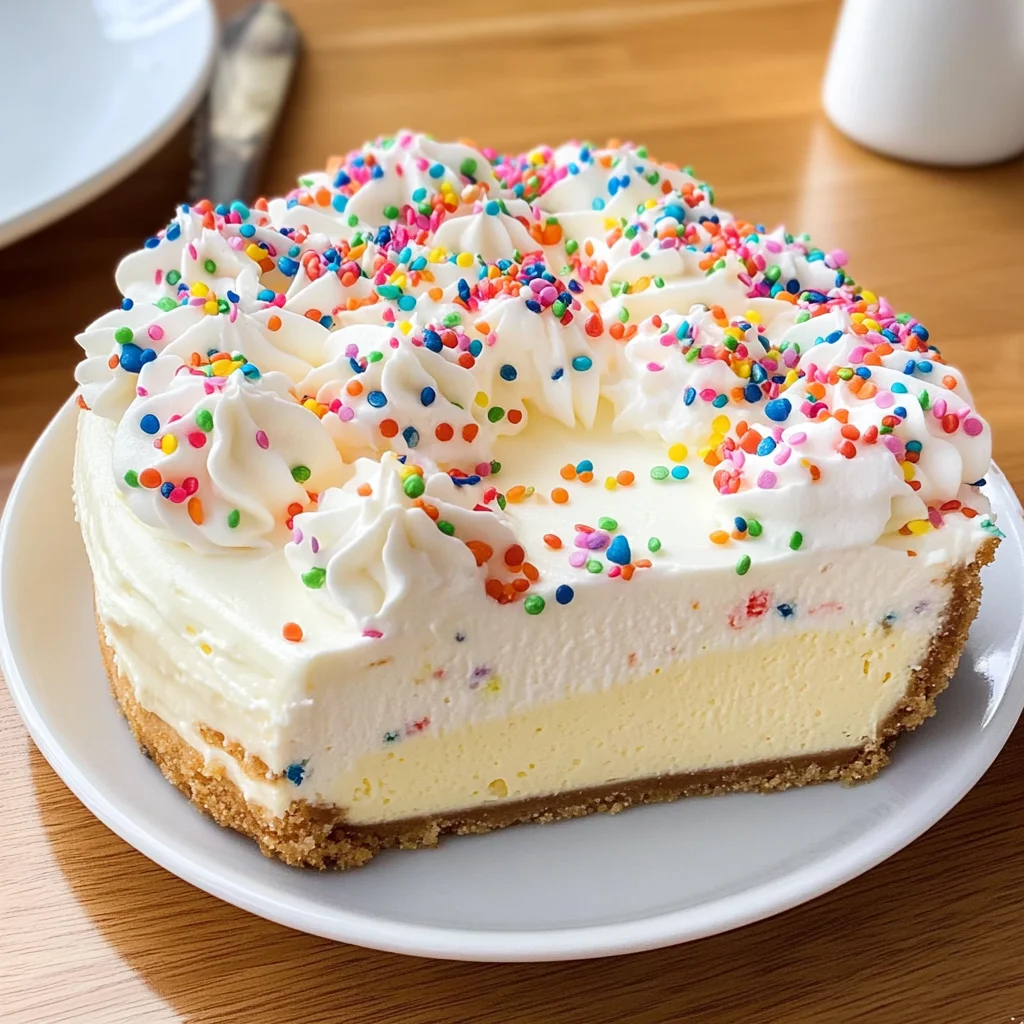
Birthday Cheesecake
If you’re looking for a dessert that brings joy to any celebration, then this Birthday Cheesecake is just what you need! It’s creamy, dense, and has a delightful sprinkle of rainbow jimmies that makes it perfect for birthdays or any festive occasion. I can’t tell you how many times I’ve made this cheesecake for family gatherings and watched everyone dive in with big smiles on their faces. It’s truly a showstopper!
What makes this Birthday Cheesecake special is not just its dreamy taste, but also how easy it is to whip up. You can make it ahead of time and let it chill in the fridge while you prepare for your celebration. Trust me, when you serve this cheesecake, everyone will be singing your praises!
Why You’ll Love This Recipe
- Easy to Make: With just a few simple steps, you can create a stunning dessert that looks like it came from a bakery.
- Family-Friendly: Kids love the colorful sprinkles, and adults appreciate the rich, creamy flavor—it’s a crowd-pleaser!
- Make-Ahead Convenience: Prepare it a day in advance and free up your time on the day of the celebration.
- Deliciously Decadent: This cheesecake is rich and satisfying, ensuring that one slice will never be enough!
Ingredients You’ll Need
Gathering these ingredients will be a breeze! They are simple and wholesome—perfect for creating an unforgettable Birthday Cheesecake.
For the Crust
- 1 ½ cups (126 g) graham cracker crumbs
- 2 tablespoons granulated sugar
- ⅓ cup unsalted butter (melted)
For the Filling
- 4 packages (8 ounces each) cream cheese (softened)
- 1 ¼ cups (250 g) granulated sugar
- ½ cup (115 g) sour cream
- 2 teaspoons vanilla extract
- 5 large eggs (room temperature)
- ½ cup rainbow jimmies (or sprinkles)
For Topping
- 6-8 ounces whipped cream
Variations
One of the best things about this Birthday Cheesecake is how flexible it is! You can easily customize it to match your tastes or whatever ingredients you have on hand.
- Add Fruit: Top your cheesecake with fresh berries or sliced bananas for a fruity twist!
- Chocolate Lovers Unite: Swirl in melted chocolate before baking for a chocolate version of this classic.
- Nutty Crunch: Incorporate crushed nuts into the crust or as a topping for an extra crunch.
- Flavor Infusion: Experiment with different extracts like almond or lemon to give it your unique flavor signature.
How to Make Birthday Cheesecake
Step 1: Preheat Your Oven
Preheat your oven to 350°F. This step is crucial as it ensures even baking right from the start.
Step 2: Prepare the Crust
In a medium bowl, combine graham cracker crumbs, sugar, and melted butter. Mix until everything is well coated. Press this mixture firmly into the bottom of a springform pan. A good crust provides stability and adds delicious texture to every bite.
Step 3: Make the Filling
In another large bowl, beat softened cream cheese until smooth. Gradually add in granulated sugar and continue mixing until fully combined. Then add sour cream and vanilla extract; mix well! Finally, add eggs one at a time, making sure each egg is incorporated before adding the next. The creamy texture comes from thoroughly mixing these ingredients together.
Step 4: Add Colorful Jimmies
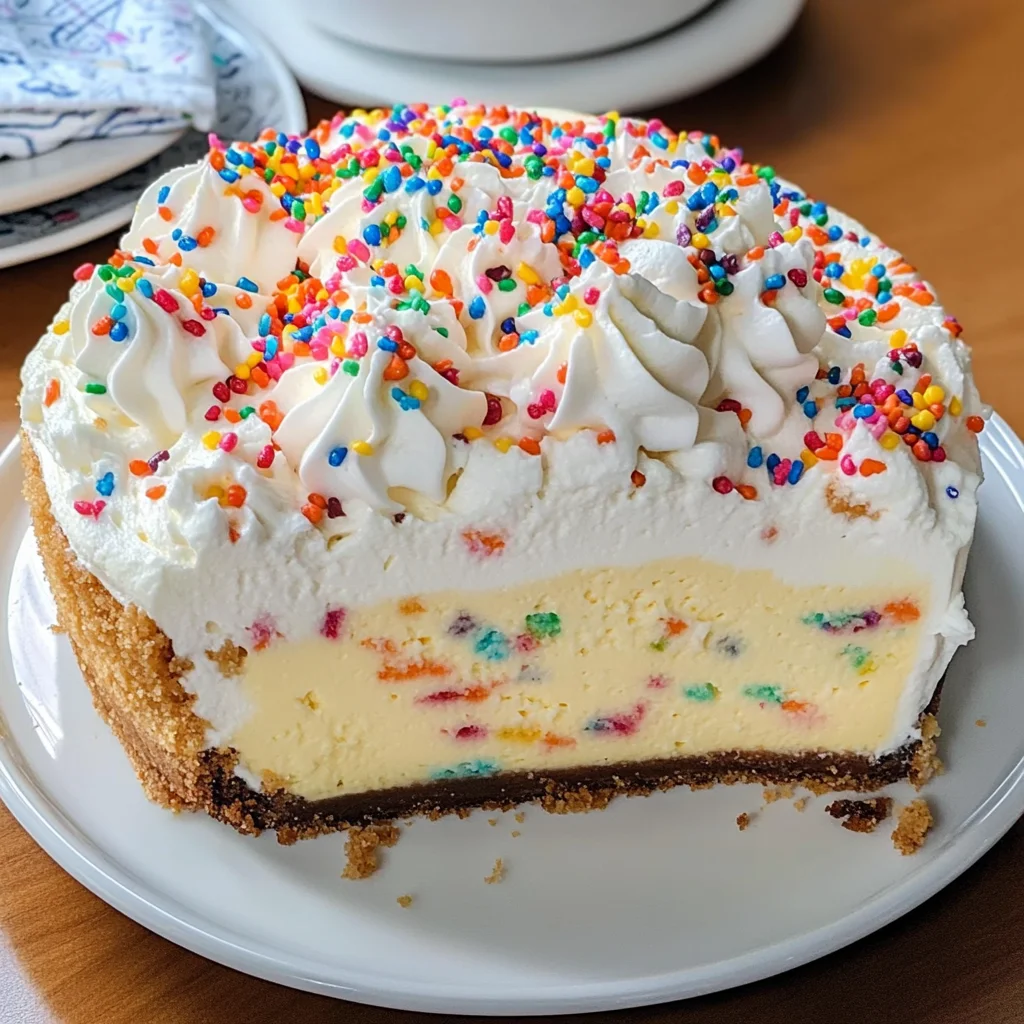
Gently fold in half of the rainbow jimmies into your cheesecake filling. This adds that festive flair we all love!
Step 5: Bake It Up
Pour the filling over your prepared crust and spread evenly. Bake in preheated oven for about 60 minutes or until set in the center but still slightly jiggly—it will firm up as it cools.
Step 6: Chill and Serve
Once baked, let your cheesecake cool completely at room temperature before refrigerating for at least four hours or overnight if possible. When ready to serve, top with whipped cream and sprinkle remaining jimmies on top for that extra birthday vibe!
Enjoy every slice of this fabulous Birthday Cheesecake—it’s sure to make any celebration extra special!
Pro Tips for Making Birthday Cheesecake
Creating the perfect Birthday Cheesecake is all about attention to detail and a little love in the process. Here are some tips to ensure your cheesecake turns out divine!
-
Use Room Temperature Ingredients: Let your cream cheese, eggs, and sour cream come to room temperature before mixing. This helps create a smooth, lump-free batter and ensures even baking.
-
Don’t Overmix: When adding the eggs, mix just until combined. Overmixing can incorporate too much air, leading to cracks in your cheesecake as it bakes.
-
Bake in a Water Bath: For a creamier texture and to prevent cracks, consider baking your cheesecake in a water bath. Just wrap the bottom of your springform pan with aluminum foil and place it in a larger pan filled with hot water before baking.
-
Cool Gradually: After baking, let your cheesecake cool in the oven with the door slightly open for about an hour. This gradual cooling helps avoid sudden temperature changes that can cause cracks.
-
Chill Before Serving: Always chill your cheesecake for at least 4 hours (or overnight) before serving. This allows the flavors to meld beautifully and gives it that perfect sliceable texture.
How to Serve Birthday Cheesecake
Presenting your Birthday Cheesecake can turn a simple dessert into a stunning centerpiece for any celebration! Here are some fun ideas on how to serve it up:
Garnishes
- Fresh Berries: Top each slice with a handful of fresh strawberries, blueberries, or raspberries. Their natural sweetness complements the richness of the cheesecake beautifully.
- Chocolate Drizzle: A drizzle of dairy-free chocolate sauce adds an indulgent touch that makes each slice even more tempting.
- Whipped Cream Clouds: Add a dollop of whipped cream on top for a lovely finishing touch that enhances both flavor and visual appeal.
Side Dishes
- Fruit Salad: A refreshing fruit salad made with seasonal fruits pairs well with the richness of cheesecake, providing a light contrast.
- Coffee or Tea: Serve slices alongside freshly brewed coffee or herbal tea for a warm beverage option that balances out the dessert’s richness.
- Vanilla Ice Cream: A scoop of dairy-free vanilla ice cream alongside your cheesecake creates a delightful combination that is simply irresistible!
- Chocolate Chip Cookies: Offer some homemade chocolate chip cookies on the side for an extra treat; they make for great dippers into whipped cream or ice cream!
With these tips and serving suggestions, your Birthday Cheesecake will not only taste amazing but also look fabulous on any dessert table. Enjoy every creamy, colorful bite!
Make Ahead and Storage
This Birthday Cheesecake is not only a delightful treat for any celebration, but it also makes for a wonderful make-ahead dessert. Preparing it in advance allows the flavors to meld beautifully while saving you time on the big day. Here are some tips for storing and enjoying your cheesecake later.
Storing Leftovers
- Allow the cheesecake to cool completely before storing.
- Cover the cheesecake with plastic wrap or aluminum foil to prevent drying out.
- Store in the refrigerator for up to 5 days.
- If using whipped cream as a topping, add it just before serving to maintain its texture.
Freezing
- Wrap individual slices of cheesecake tightly in plastic wrap and then place them in an airtight container or freezer bag.
- Freeze for up to 2 months for best quality.
- Label containers with the date and contents for easy identification.
Reheating
- Thaw frozen cheesecake slices in the refrigerator overnight before enjoying.
- Avoid using a microwave, as it can change the texture; instead, let it come back to room temperature on the counter for about 30 minutes.
FAQs
Here are some common questions about making this Birthday Cheesecake!
Can I use low-fat cream cheese for this Birthday Cheesecake?
Yes, you can use low-fat cream cheese, but keep in mind that it may slightly alter the texture and richness of the final product.
How do I prevent cracks in my Birthday Cheesecake?
To minimize cracks, ensure your cream cheese is softened properly before mixing. Additionally, baking at a lower temperature and avoiding overmixing can help achieve a smooth surface.
Can I make this Birthday Cheesecake dairy-free?
You can substitute cream cheese with a dairy-free alternative such as cashew or almond-based cream cheese, and use dairy-free sour cream. Adjusting other ingredients may also be necessary.
What should I serve with my Birthday Cheesecake?
Consider topping your cheesecake with fresh fruits, chocolate sauce, or additional rainbow jimmies for an extra festive touch!
Final Thoughts
I hope this Birthday Cheesecake brightens your special celebration! Its creamy texture and colorful sprinkles create not just a delicious dessert but also a beautiful centerpiece. Enjoy the process of making it and share it with loved ones – there’s nothing quite like celebrating with a homemade treat! Happy baking!
Birthday Cheesecake
Looking for a show-stopping dessert that will bring joy to your next celebration? This Birthday Cheesecake is the perfect choice! Creamy, dense, and topped with colorful rainbow jimmies, it’s a treat that’s sure to delight guests of all ages. The best part? It’s easy to prepare ahead of time, allowing you to enjoy your party stress-free while everyone savors each delicious slice. Everyone will be singing your praises with this crowd-pleaser on the dessert table!
- Prep Time: 20 minutes
- Cook Time: 60 minutes
- Total Time: 1 hour 20 minutes
- Yield: Approximately 12 servings 1x
- Category: Dessert
- Method: Baking
- Cuisine: American
Ingredients
- 1 ½ cups graham cracker crumbs
- 2 tablespoons granulated sugar
- ⅓ cup unsalted butter (melted)
- 4 packages (8 ounces each) cream cheese (softened)
- 1 ¼ cups granulated sugar
- ½ cup sour cream
- 2 teaspoons vanilla extract
- 5 large eggs (room temperature)
- ½ cup rainbow jimmies
- Optional topping: whipped cream
Instructions
- Preheat the oven to 350°F.
- In a bowl, mix graham cracker crumbs, sugar, and melted butter. Press into the bottom of a springform pan.
- Beat softened cream cheese until smooth; gradually add sugar, then sour cream and vanilla extract. Mix well.
- Add eggs one at a time, mixing until incorporated.
- Fold in half of the rainbow jimmies and pour filling over the crust.
- Bake for about 60 minutes until set but slightly jiggly in the center.
- Let cool completely before refrigerating for at least four hours or overnight. Top with whipped cream and remaining jimmies before serving.
Nutrition
- Serving Size: 1 serving
- Calories: 320
- Sugar: 24g
- Sodium: 250mg
- Fat: 22g
- Saturated Fat: 13g
- Unsaturated Fat: 8g
- Trans Fat: 0g
- Carbohydrates: 28g
- Fiber: <1g
- Protein: 5g
- Cholesterol: 80mg